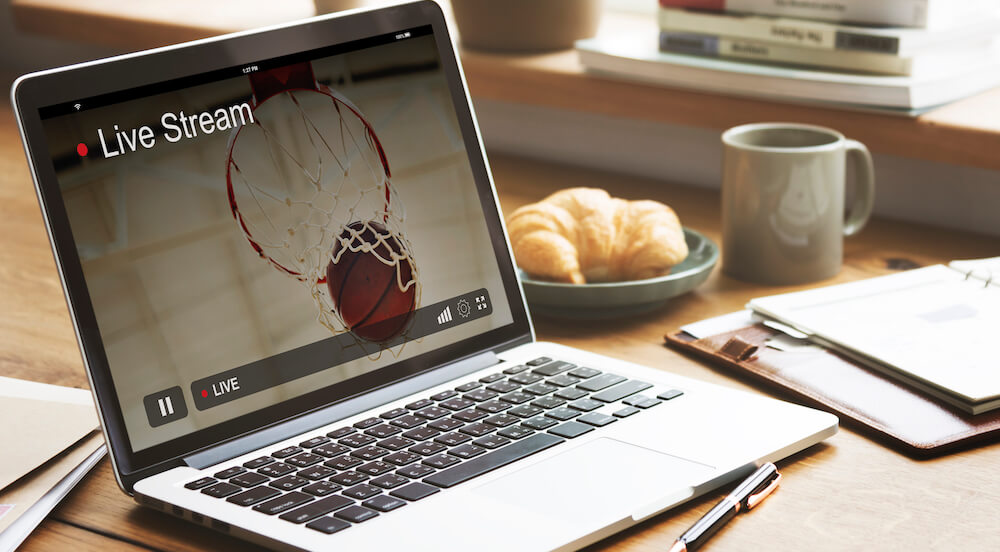
Live streaming has become a powerful tool for content creators, gamers, educators, and businesses looking to engage with their audience in real time. If you’re new to live streaming or want to improve your current setup, using your laptop can be a convenient and affordable option. In this guide, we’ll walk you through the steps of setting up your laptop for live streaming, from selecting the right software to optimizing your hardware.
Why Use Your Laptop for Live Streaming?
There are several advantages to using a laptop for live streaming:
- Portability: Laptops are portable, which makes it easy to stream from different locations, whether you’re at home, a remote event, or on the go.
- Convenience: Most modern laptops come with built-in webcams, microphones, and speakers, so you don’t need a lot of additional equipment to start streaming.
- Powerful Tools: With the right software and settings, laptops can handle professional-grade live streaming without the need for a complex desktop setup.
- All-in-One Solution: Laptops provide all the necessary tools in one device, including streaming software, editing programs, and live chat features.
Step 1: Choose the Right Streaming Platform
Before you start live streaming, you need to choose the platform where you want to stream your content. Some of the most popular platforms include:
- Twitch: Ideal for gamers and creatives who want to connect with an interactive community.
- YouTube Live: Perfect for creators, educators, and businesses looking to reach a wide audience.
- Facebook Live: A great choice for social engagement and broadcasting to your followers.
- Instagram Live: A mobile-friendly platform suitable for informal or personal live sessions.
- Zoom or Google Meet: Best for webinars, meetings, and professional broadcasts.
Make sure you create an account on your chosen platform and familiarize yourself with its streaming guidelines and settings.
Step 2: Install the Right Streaming Software
For professional-quality streams, you need to use streaming software that allows you to control various aspects of your broadcast. Here are the top software options for live streaming:
- OBS Studio (Open Broadcaster Software):
- Free and open-source software, OBS is one of the most popular choices for live streaming.
- It offers powerful customization options, including scene switching, overlays, and source management.
- Compatible with most streaming platforms like Twitch, YouTube, and Facebook.
- Streamlabs:
- Based on OBS, Streamlabs offers an easy-to-use interface and additional features like stream alerts and built-in chat integration.
- It is ideal for beginners and advanced streamers alike.
- XSplit:
- XSplit is a paid software known for its user-friendly interface and powerful streaming features.
- Great for professionals who want a streamlined experience with more advanced tools.
- Wirecast:
- A paid option with professional-grade tools for streaming, perfect for businesses and higher-end productions.
- It supports advanced features like multi-camera setups, green screen, and live graphics.
- Ecamm Live (for Mac users):
- A popular choice for Mac users who want an easy-to-use, powerful streaming solution.
- Supports multi-streaming, graphics overlays, and high-quality live broadcasts.
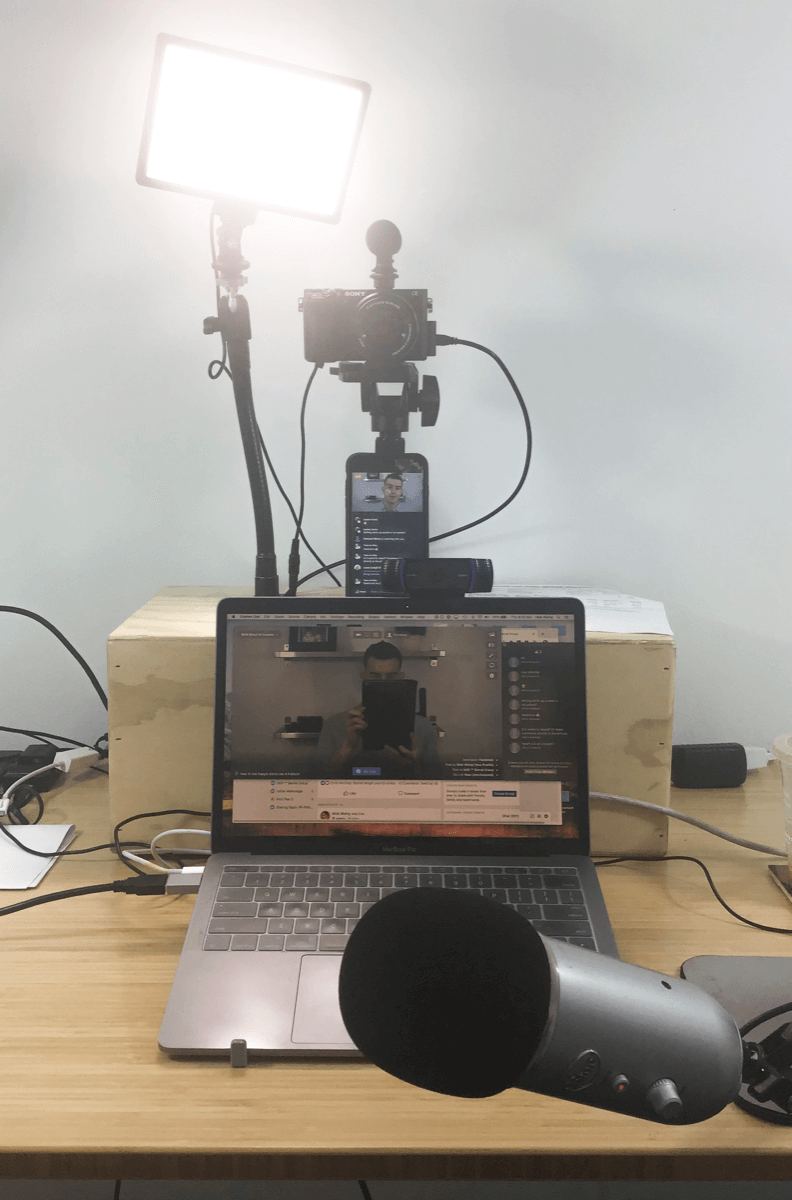
Step 3: Set Up Your Laptop for Live Streaming
Once you’ve chosen the software, it’s time to set up your laptop for a smooth streaming experience. Here are the key steps:
- Check Your Laptop’s Hardware:
- Processor: A fast processor (Intel Core i5 or higher) is essential to handle the video encoding and live feed.
- RAM: At least 8GB of RAM is recommended for smooth streaming.
- Storage: Ensure your laptop has enough free storage to handle streaming software, video files, and any additional content you plan to use.
- Graphics: A dedicated graphics card can help improve the performance of your stream, especially if you plan on streaming high-quality content.
- Internet Connection:
- A stable, high-speed internet connection is crucial for smooth streaming. Aim for at least 5 Mbps upload speed for HD streaming.
- Consider using a wired Ethernet connection for a more stable connection compared to Wi-Fi.
- Webcam and Microphone:
- Most laptops come with built-in webcams and microphones, but for better quality, you may want to invest in an external webcam and microphone.
- Popular choices include the Logitech C920 webcam and the Blue Yeti microphone for clear, high-quality video and audio.
- Lighting:
- Proper lighting can drastically improve your video quality. If you’re streaming from your laptop in a dark room, invest in a ring light or softbox lights to illuminate your face and reduce shadows.
Step 4: Customize Your Stream
Customize your live stream to make it engaging and professional:
- Scenes and Sources:
- In your streaming software, set up different “scenes” that include various “sources,” such as your webcam feed, gameplay footage, images, or a browser window.
- Organize these elements into scenes, such as “Starting Soon,” “Live,” and “Ending Soon,” for a more professional-looking stream.
- Overlays and Alerts:
- Add overlays, animations, and alerts to make your stream more engaging. These could include banners, chat boxes, donation alerts, and follower counts.
- Streamlabs and OBS both have easy-to-install overlays, or you can download free ones from websites like Nerd or Die.
- Test Your Stream:
- Before going live, run a test stream to check your video and audio quality. Ensure everything is running smoothly and make adjustments if needed.
Step 5: Start Streaming
Once your setup is ready, it’s time to go live!
- Connect Your Software to Your Streaming Platform:
- In your streaming software, go to the settings and find the “Stream” section.
- Enter your streaming key, which you can find in your platform’s dashboard (Twitch, YouTube, etc.).
- Go Live:
- Once you’re ready, press “Start Streaming” in your software. You’ll be live on your chosen platform, ready to engage with your viewers.
- Engage with Your Audience:
- Keep an eye on your live chat to interact with viewers, answer questions, and respond to comments in real time.
Step 6: Optimize Your Stream for Better Performance
To make sure your stream runs without interruptions, you can optimize your laptop’s performance:
- Close Unnecessary Applications: Close any apps that are not needed for streaming to free up system resources.
- Adjust Stream Settings: Lower the video resolution or bitrate if your laptop struggles with performance. For most streams, 720p at 30fps should work fine.
- Monitor Your System’s Performance: Use monitoring software like Task Manager (Windows) or Activity Monitor (Mac) to check your laptop’s CPU and RAM usage during the stream.
Conclusion: Get Started with Streaming on Your Laptop
Using your laptop for live streaming can be an exciting and accessible way to connect with your audience. By choosing the right software, optimizing your hardware, and customizing your stream, you can create high-quality broadcasts without needing a complex desktop setup. Whether you’re streaming games, tutorials, events, or interviews, your laptop can become a powerful tool for sharing your content with the world.
Get started today and unleash your potential as a live streamer!