Video conferencing has become an essential part of work, education, and communication. Whether you’re attending business meetings, online classes, or virtual hangouts, having a well-optimized laptop setup ensures a smooth and professional experience.
In this guide, we’ll walk you through the steps to set up your laptop for high-quality video calls on platforms like Zoom, Microsoft Teams, Google Meet, and Skype.
1. Ensure Your Laptop Meets Video Conferencing Requirements
Before setting up, check if your laptop has the minimum hardware and software requirements for video conferencing:
- Processor: Intel Core i5 (or equivalent) and above for smooth video calls.
- RAM: At least 8GB RAM for better multitasking.
- Camera: A built-in webcam or an external HD webcam for high-quality video.
- Microphone & Speakers: Built-in mic and speakers work, but an external microphone and headphones improve sound clarity.
- Internet Speed: At least 10 Mbps download and 3 Mbps upload speed for HD video calls.
Use a speed test tool like Fast.com or Speedtest.net to check your internet speed.
2. Install and Update Video Conferencing Software
Choose the right video conferencing platform based on your needs:
- Business Meetings: Zoom, Microsoft Teams, Google Meet
- Casual Calls: Skype, WhatsApp Web, FaceTime (Mac users)
- Webinars & Live Streams: Zoom Webinars, YouTube Live
Installation and Updates
- Download the latest version of your preferred platform from the official website.
- Keep it updated to access the latest features and security patches.
- Create an account and sign in to configure your settings.
3. Optimize Your Camera for Better Video Quality
A clear and professional video appearance helps you look more confident and engaged during calls.
Position Your Camera Correctly
- Place the laptop at eye level to create a natural, face-to-face interaction.
- Use a laptop stand or stack books to adjust the height.
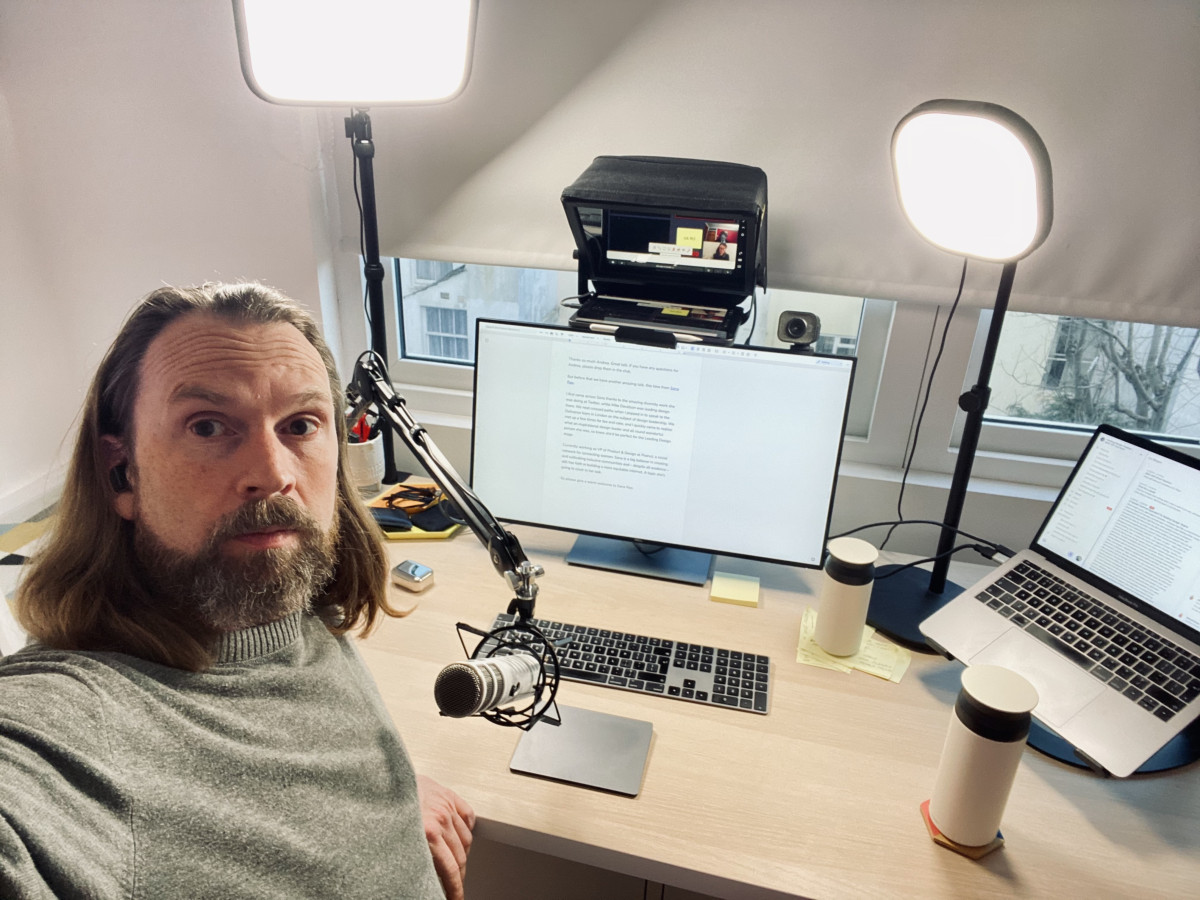
Improve Lighting
- Natural light: Sit facing a window for soft, even lighting.
- Artificial light: Use a ring light or desk lamp placed in front of you.
- Avoid backlighting: Sitting with a window behind you can make your face look dark.
Adjust Camera Settings
- Most video apps allow you to tweak brightness, contrast, and resolution in their settings.
- If using an external webcam, install its driver software for more customization.
4. Enhance Audio Quality for Clear Communication
Good audio is just as important as video. Here’s how to improve your sound quality:
Use a Headset or External Microphone
- Built-in laptop microphones can pick up background noise.
- Recommended options:
- USB microphone (Blue Yeti, Audio-Technica ATR2100x)
- Wired or Bluetooth headset (Jabra, Logitech, Bose)
Reduce Background Noise
- Choose a quiet location for meetings.
- Use noise cancellation software like Krisp.ai or built-in features in Zoom and Teams.
- If using a headset, position the mic close to your mouth but not directly in front to avoid breathing noise.
Test Your Audio Before Meetings
- Go to Sound Settings (Windows) or System Preferences > Sound (Mac) to test your mic and speakers.
- In Zoom or Teams, use the Test Mic option before joining a meeting.
5. Optimize Your Internet for Lag-Free Calls
Slow internet can lead to video lags and audio dropouts. Follow these tips to ensure a stable connection:
- Use a wired Ethernet connection for the best speed and stability.
- Move closer to the Wi-Fi router if using wireless internet.
- Close unused apps that consume bandwidth (e.g., YouTube, cloud backups, downloads).
- Limit other devices streaming or gaming on the same network during calls.
- Enable High-Performance Mode (Windows: Control Panel > Power Options > High Performance).
6. Set Up a Professional Background
Your background should be clean and distraction-free:
- Real Background: A tidy room with neutral colors works best.
- Virtual Backgrounds: Use Zoom or Teams’ built-in virtual backgrounds if your room is cluttered.
- Blurred Background: Many apps offer a background blur option for privacy.
7. Use Video Conferencing Shortcuts for Efficiency
Learn these shortcuts to improve your video conferencing experience:
Zoom Shortcuts
- Mute/Unmute Mic:
Alt + A(Windows) /Cmd + Shift + A(Mac) - Turn Camera On/Off:
Alt + V(Windows) /Cmd + Shift + V(Mac) - Raise Hand:
Alt + Y(Windows) /Option + Y(Mac)
Microsoft Teams Shortcuts
- Mute/Unmute Mic:
Ctrl + Shift + M - Turn Camera On/Off:
Ctrl + Shift + O - Open Chat:
Ctrl + Shift + C
8. Practice Before Important Meetings
To ensure everything runs smoothly:
- Start a test call with a friend or use Zoom’s Test Meeting feature.
- Adjust camera angle, lighting, and microphone settings.
- Check for any software updates before a scheduled call.
9. Maintain Your Laptop for Long-Term Performance
To keep your laptop running smoothly for future video calls:
- Regularly restart your laptop to clear background processes.
- Close unnecessary apps before video conferencing.
- Update your operating system and drivers for the latest performance improvements.
- Use cooling pads to prevent overheating during long meetings.
Final Thoughts
A well-prepared laptop setup makes video conferencing smoother and more professional. By optimizing your camera, microphone, lighting, and internet connection, you can ensure clear communication and a better overall experience.
For more laptop and tech-related tips, visit Psero.com for expert guides and product recommendations!