A bootable USB drive is essential for installing or repairing an operating system on your laptop. Whether you’re upgrading to Windows 11, reinstalling Windows 10, or trying Linux, creating a bootable USB is a straightforward process.
In this guide, we’ll walk you through step-by-step instructions to create a bootable USB drive using different tools, ensuring compatibility with Windows and macOS.
What You Need Before You Start
Before proceeding, make sure you have:
- A USB flash drive (at least 8GB, preferably 16GB or more)
- A Windows ISO file or Linux distribution of your choice
- A PC or Mac with an active internet connection
Method 1: Using Microsoft’s Media Creation Tool (For Windows 10 & 11)
Microsoft provides an official tool to create bootable USB drives for Windows 10 and Windows 11.
Step-by-Step Guide
-
Download the Media Creation Tool
- Visit Microsoft’s official website.
- Select Download Now under “Create Windows Installation Media.”
-
Run the Tool
- Open the downloaded file and click Accept to agree to the terms.
- Select Create installation media for another PC and click Next.
-
Choose Language, Edition, and Architecture
- The tool will detect the best settings based on your current system. Adjust if necessary.
-
Select USB Flash Drive
- Choose USB Flash Drive as the installation media and click Next.
- Select your USB drive from the list.
-
Download & Write Windows to USB
- The tool will download Windows and create a bootable USB.
- Once finished, your USB drive is ready. Click Finish and safely remove it.
Your bootable USB is now ready. Use it to install or repair Windows on your laptop.
Method 2: Using Rufus (For Windows & Linux)
Rufus is a free third-party tool that works with both Windows and Linux ISO files.
Step-by-Step Guide
-
Download Rufus
- Visit rufus.ie and download the latest version.
-
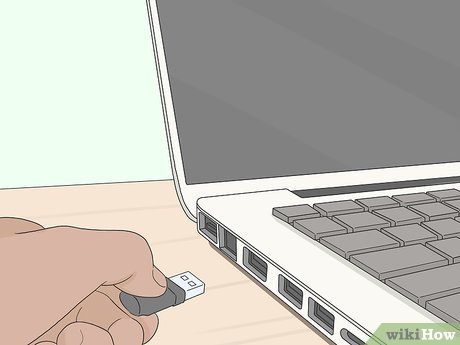
Insert Your USB Drive
- Connect your USB (8GB or more) to your laptop.
-
Select the ISO File
- Click SELECT and browse for the Windows or Linux ISO file you downloaded.
-
Choose Partition Scheme & File System
- For modern PCs, select GPT and NTFS.
- For older PCs, select MBR and FAT32.
-
Start the Bootable USB Creation
- Click START and wait for Rufus to write the ISO to your USB drive.
Your bootable USB is ready. Use it to install Windows, Ubuntu, Kali Linux, or any OS of your choice.
Method 3: Using macOS Terminal (For macOS & Linux Users)
Mac users can create a bootable USB using Terminal commands.
Step-by-Step Guide
-
Insert Your USB Drive
- Open Disk Utility and format your USB to Mac OS Extended (Journaled).
-
Download the ISO File
- Get your desired OS ISO (Windows or Linux) from an official website.
-
Use Terminal to Create the Bootable USB
- Open Terminal and run:
- Replace /path/to/iso with the actual location of the ISO file.
- Replace diskX with your USB drive’s identifier (find it using
diskutil list).
After completion, your USB is ready to install an OS.
How to Boot from a USB Drive
Once your bootable USB is ready, follow these steps to install or repair your OS:
- Insert the USB into your laptop.
- Restart your laptop and enter the Boot Menu.
- Press F2, F12, Esc, or Del (depending on your laptop brand).
- Select the USB Drive as the primary boot device.
- Follow the installation prompts to set up your OS.
Conclusion
Creating a bootable USB is quick and easy with the right tools. Whether you use Microsoft’s Media Creation Tool, Rufus, or macOS Terminal, you can install or repair an operating system on your laptop in minutes.
Need a reliable laptop for your work or studies? Check out Psero Laptops for the best deals on new and UK-used laptops in Nigeria.